
How do we lay a resin drive?
Pricing, planning, installment, curing, etc.
Our system has organically established its own reputation as a result of nearly a decade of expertise in the installation of resin drives for home's and businesses. We have experimented with various techniques in previous years; however, this one particular approach is the most successful we have encountered. It generally consists of a preliminary inspection, followed by surface prep, bordering, blending resin, applying the resin, and wrapping up with finishing touches. To see what our step-by-step procedure will look like with pictures, please keep on reading!
Receive Your Free Estimate
Contact Us
Step 1: Prepping the Surface
Depending upon the condition of your existing drive, the necessary preparation process may differ.
There are a couple of potential scenarios: either we can utilise the current structure as the base, or we would have to construct a brand-new base from scratch.
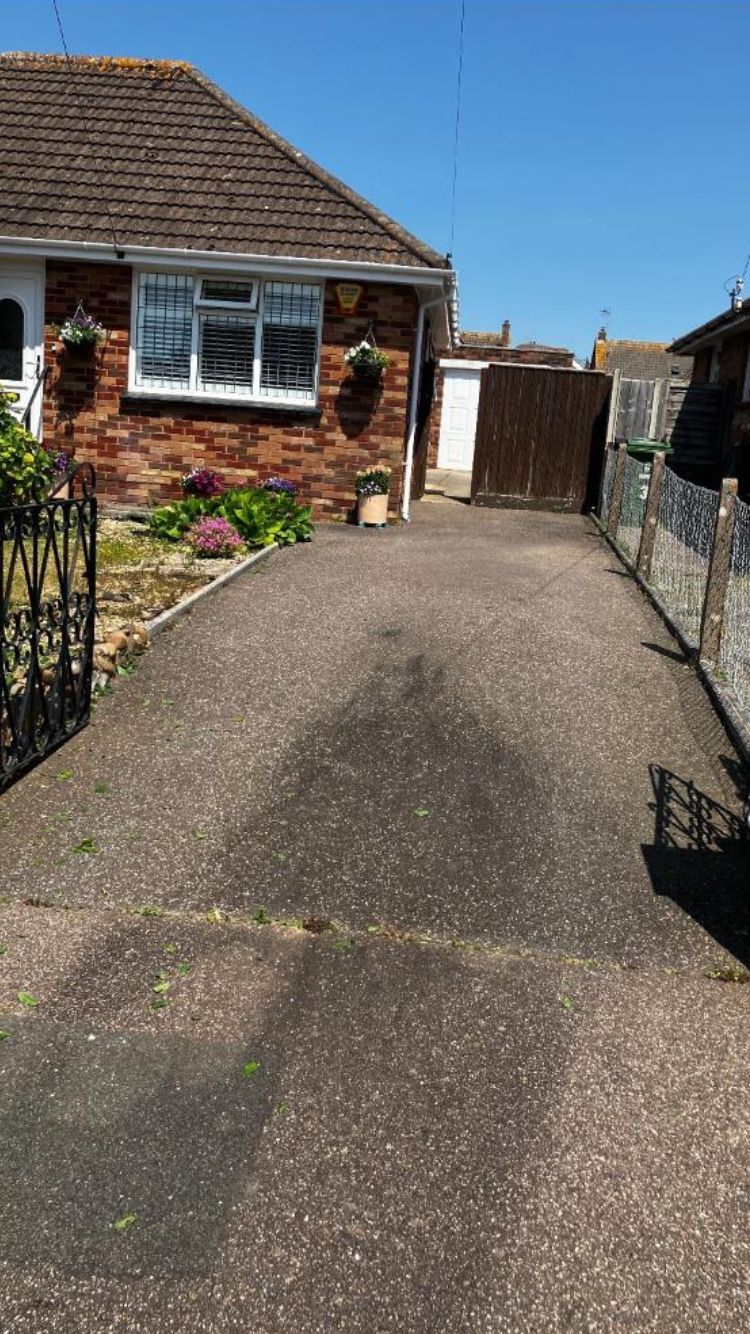
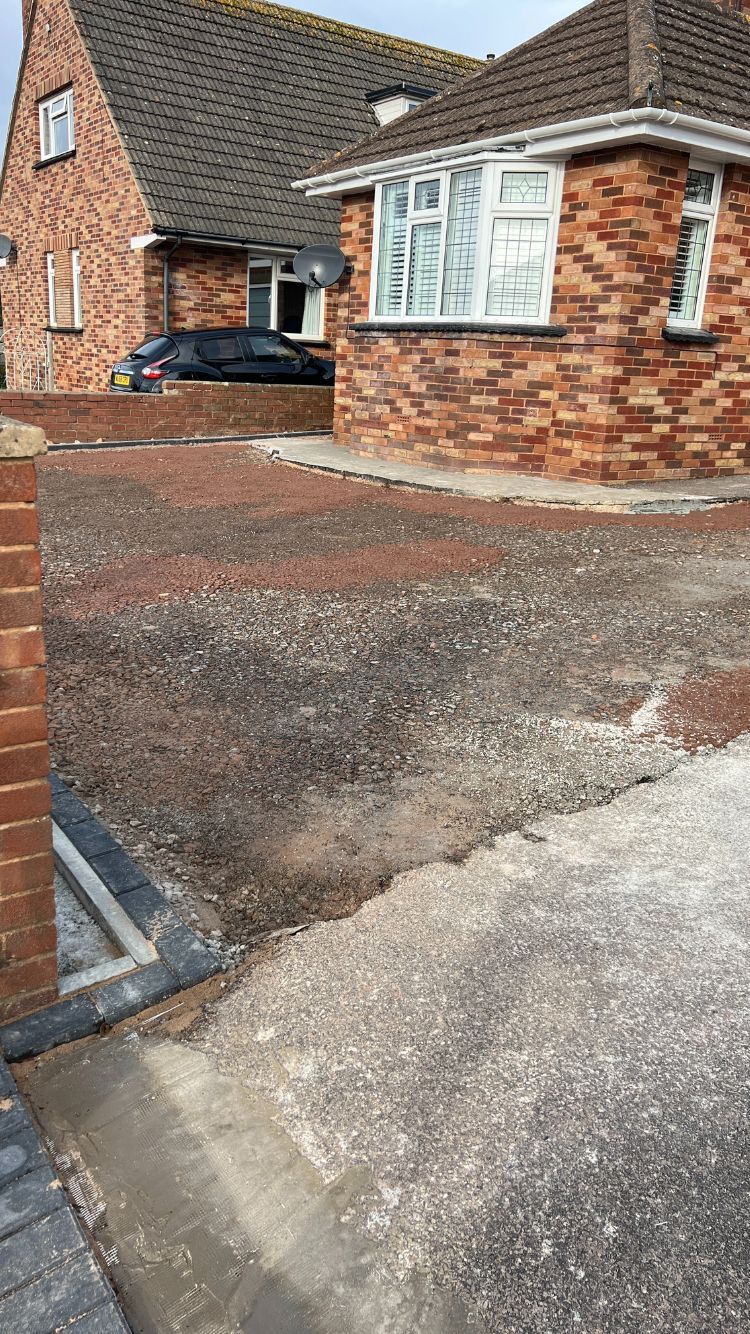
In the photograph displayed down below, we were fortunate enough to be able to make use of the majority of the pre-existing drive as the base, and the remaining drive required a fresh base.
Below are some pictures to demonstrate the set-up of the base we were able to reuse:
Ahead of prep
After prep
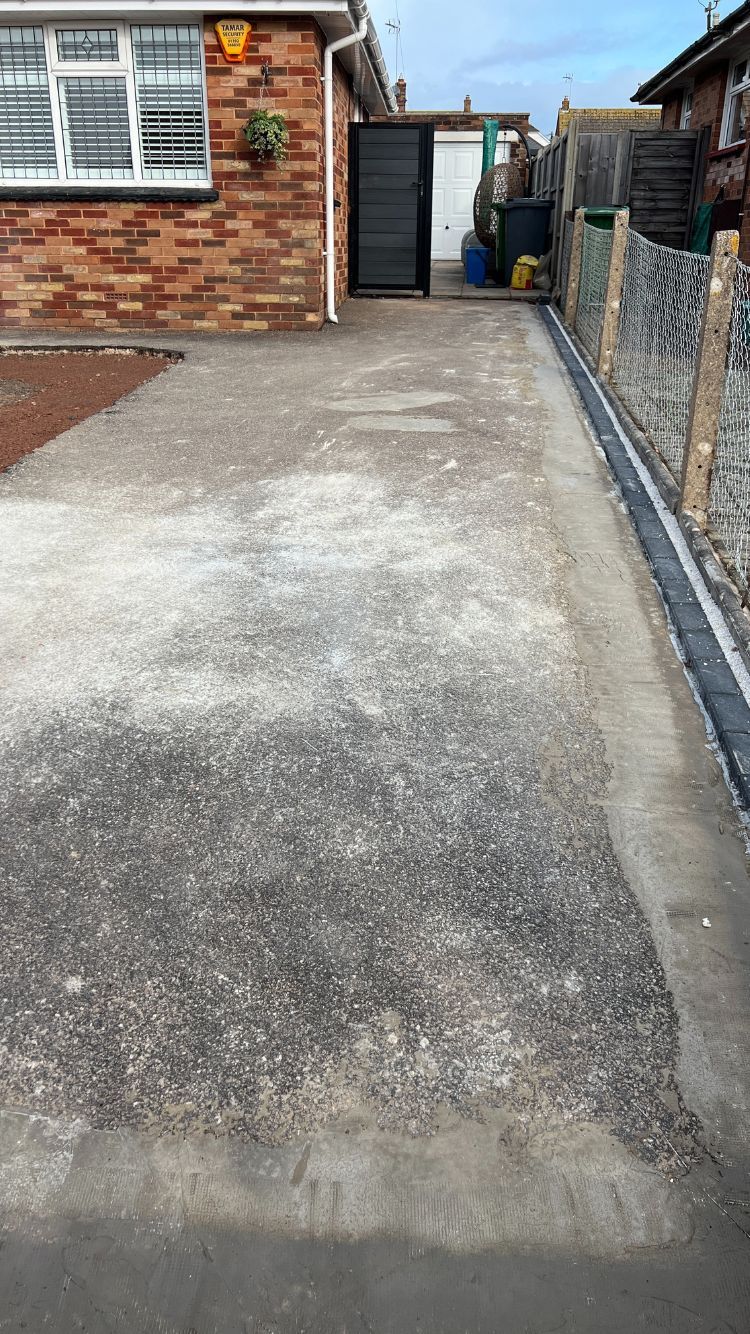
For the remainder of the drive, we needed to construct a new base, made from porous tarmac, please check out the example below:
Prior to porous tarmac
Dig up the surface
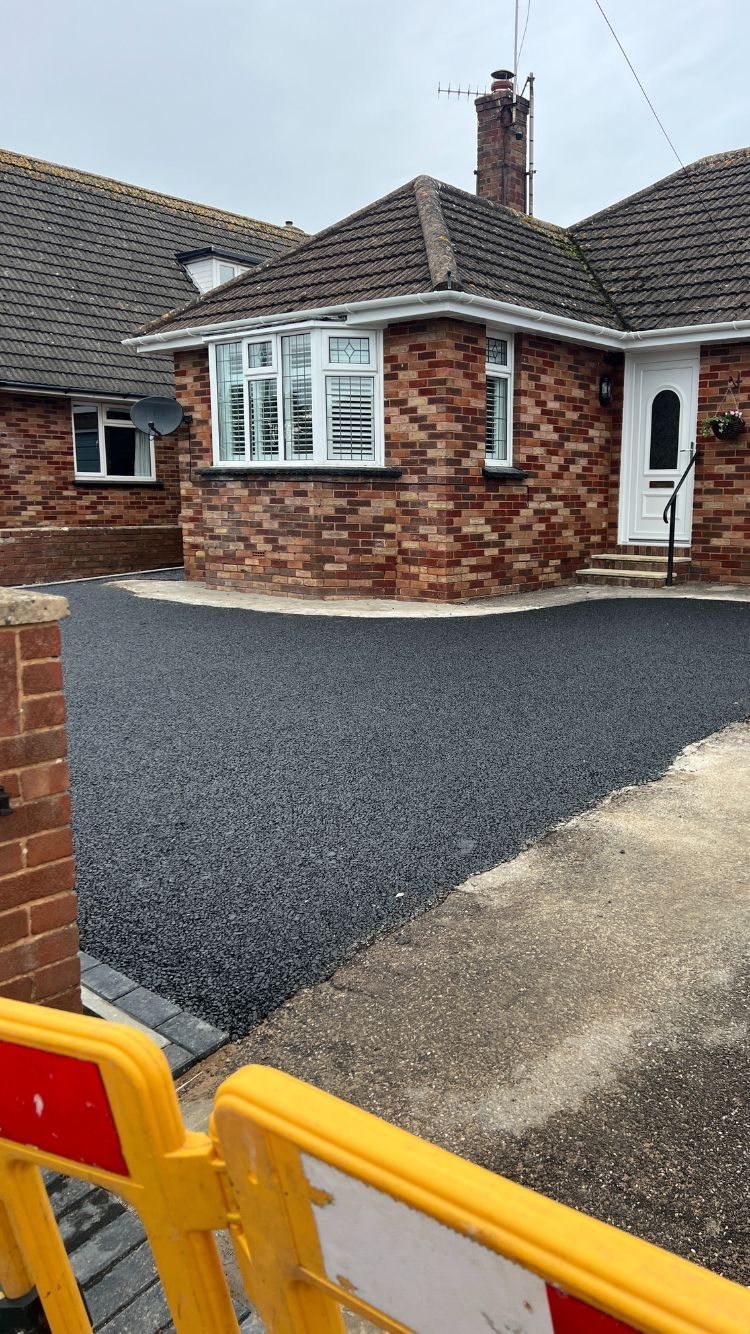
New porous tarmac base
Certified & Highly Regarded
Call Us Today To Request A FREE Estimate
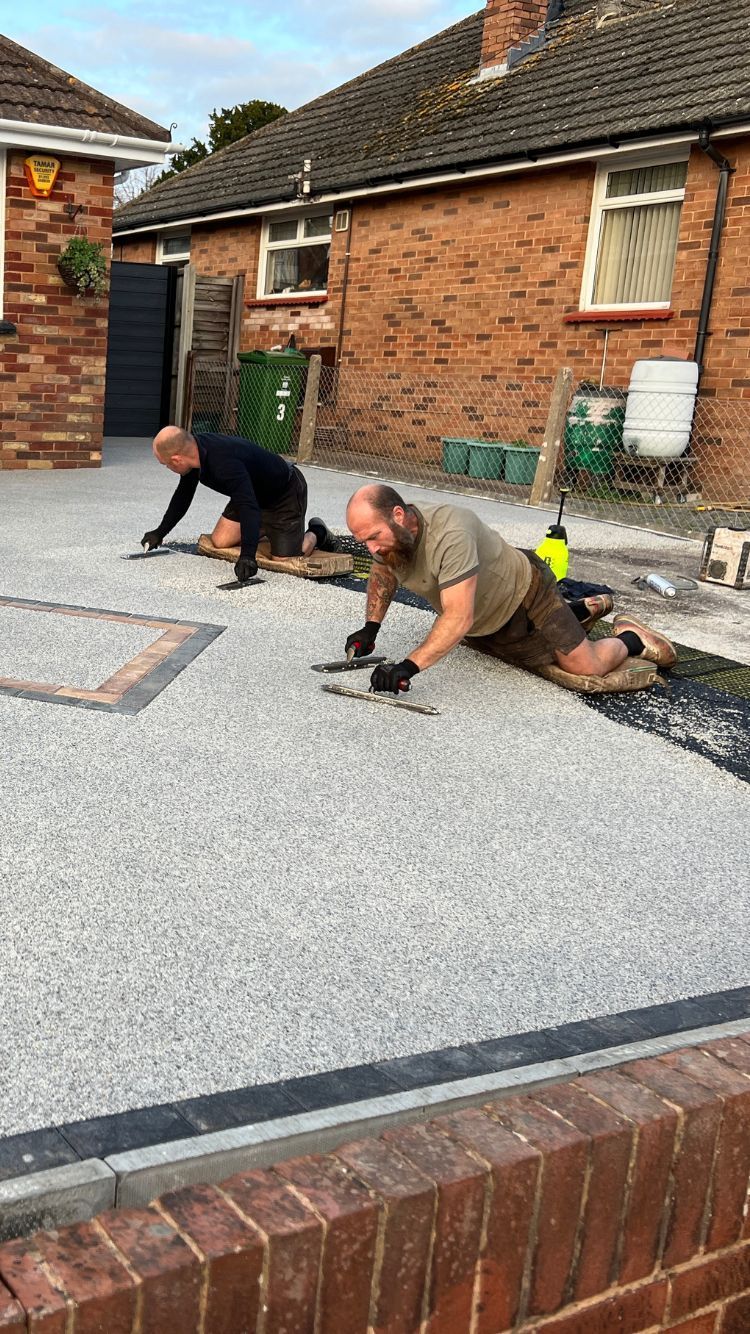
Step 2: Applying The Resin
Following the prep process, we can now apply the resin combination, this step completely rejuvenates the drive, and gives it a new life.
Please check out the photos below:
Permeable tarmac
During the resin application
Soon after resin completion
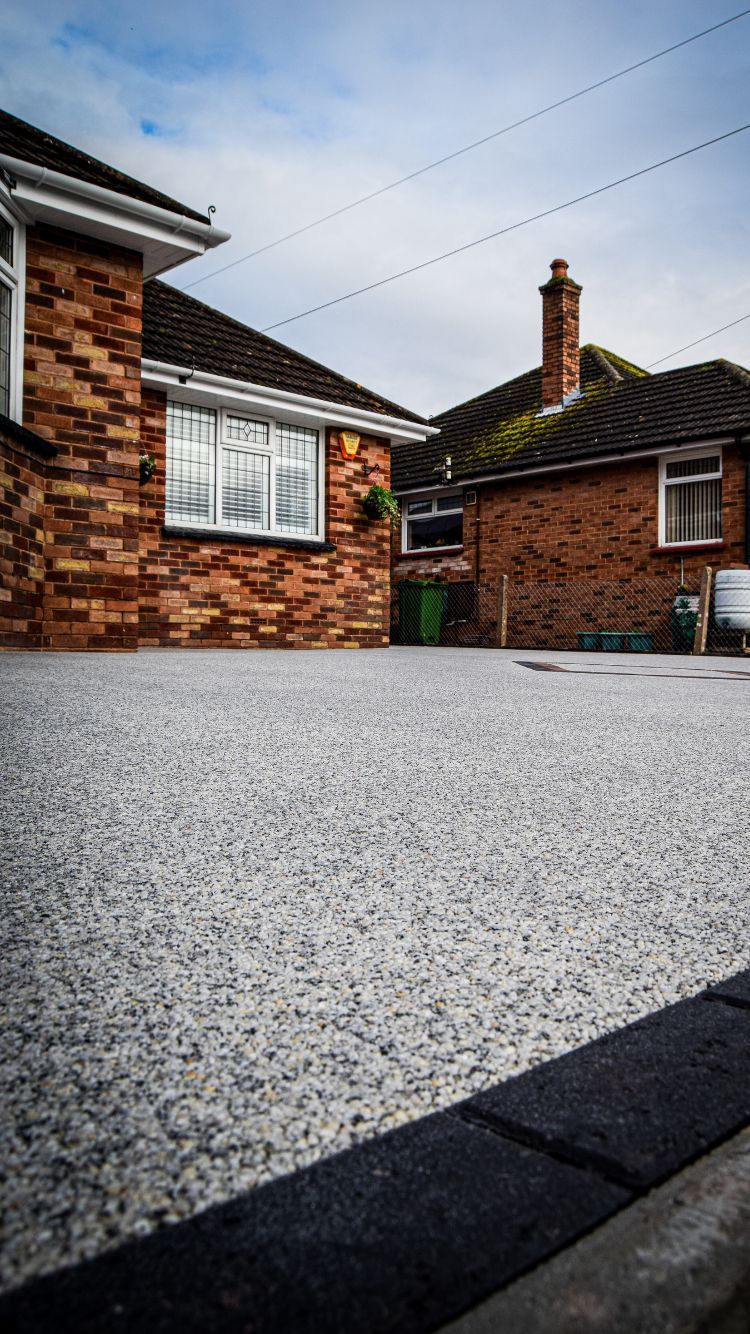
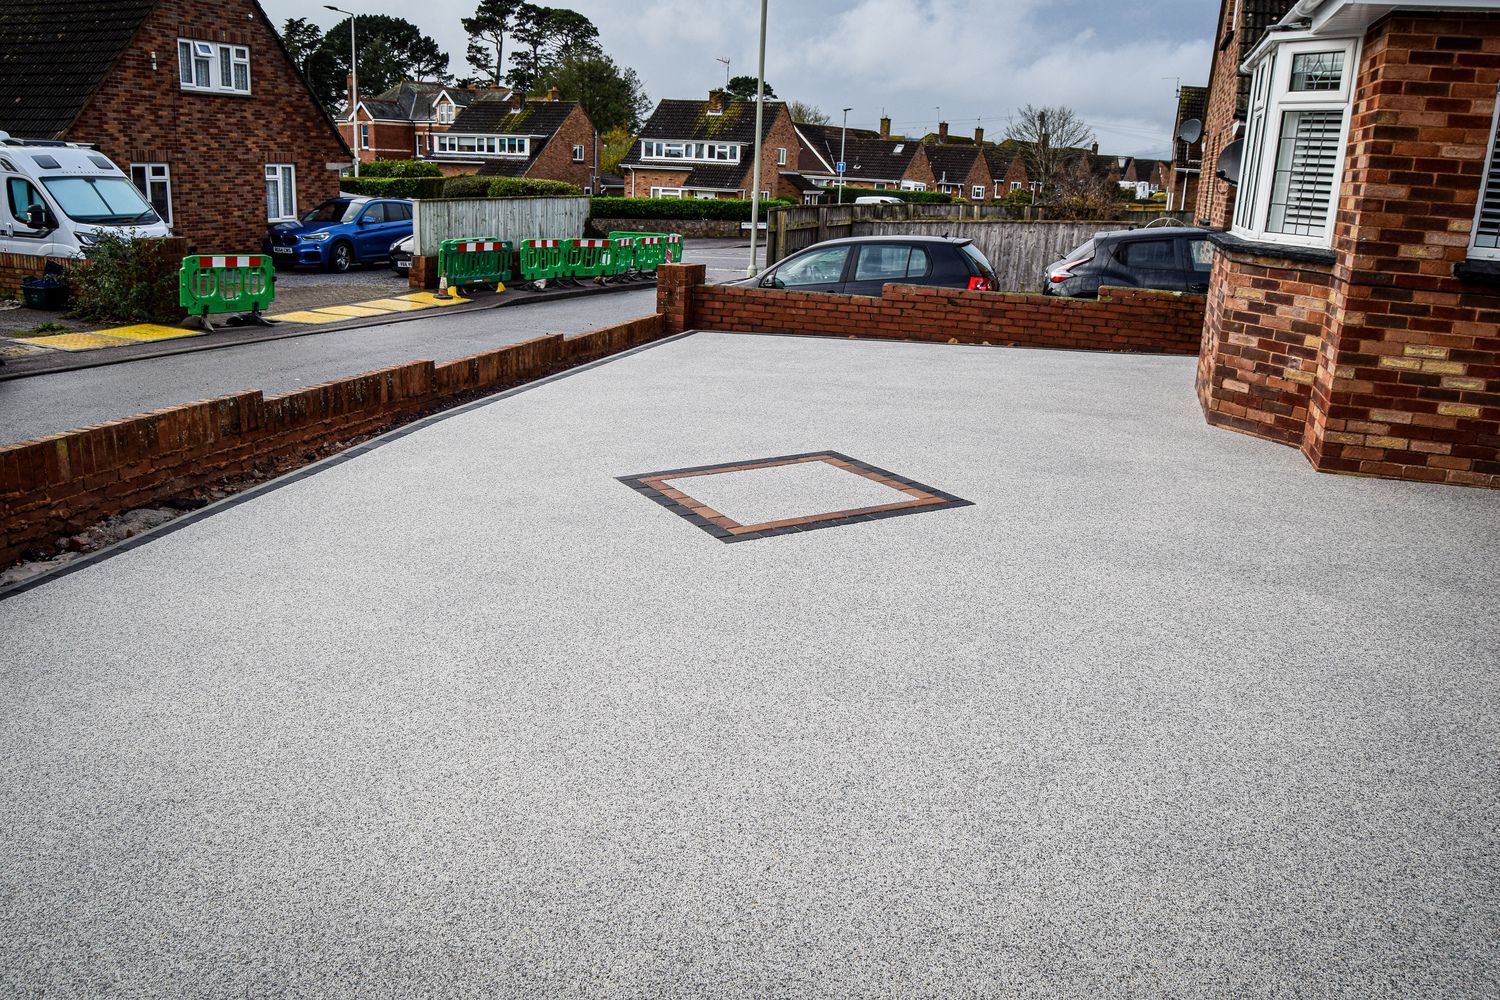
Step 3: Allow It To Cure
The drive is now absolutely revived, and is nearly complete. The resin material takes upwards of 8 hours to cure; however, we do recommend allowing a minimum of 24–48 hours prior to stepping on it, and 48 hours prior to placing your car on it.
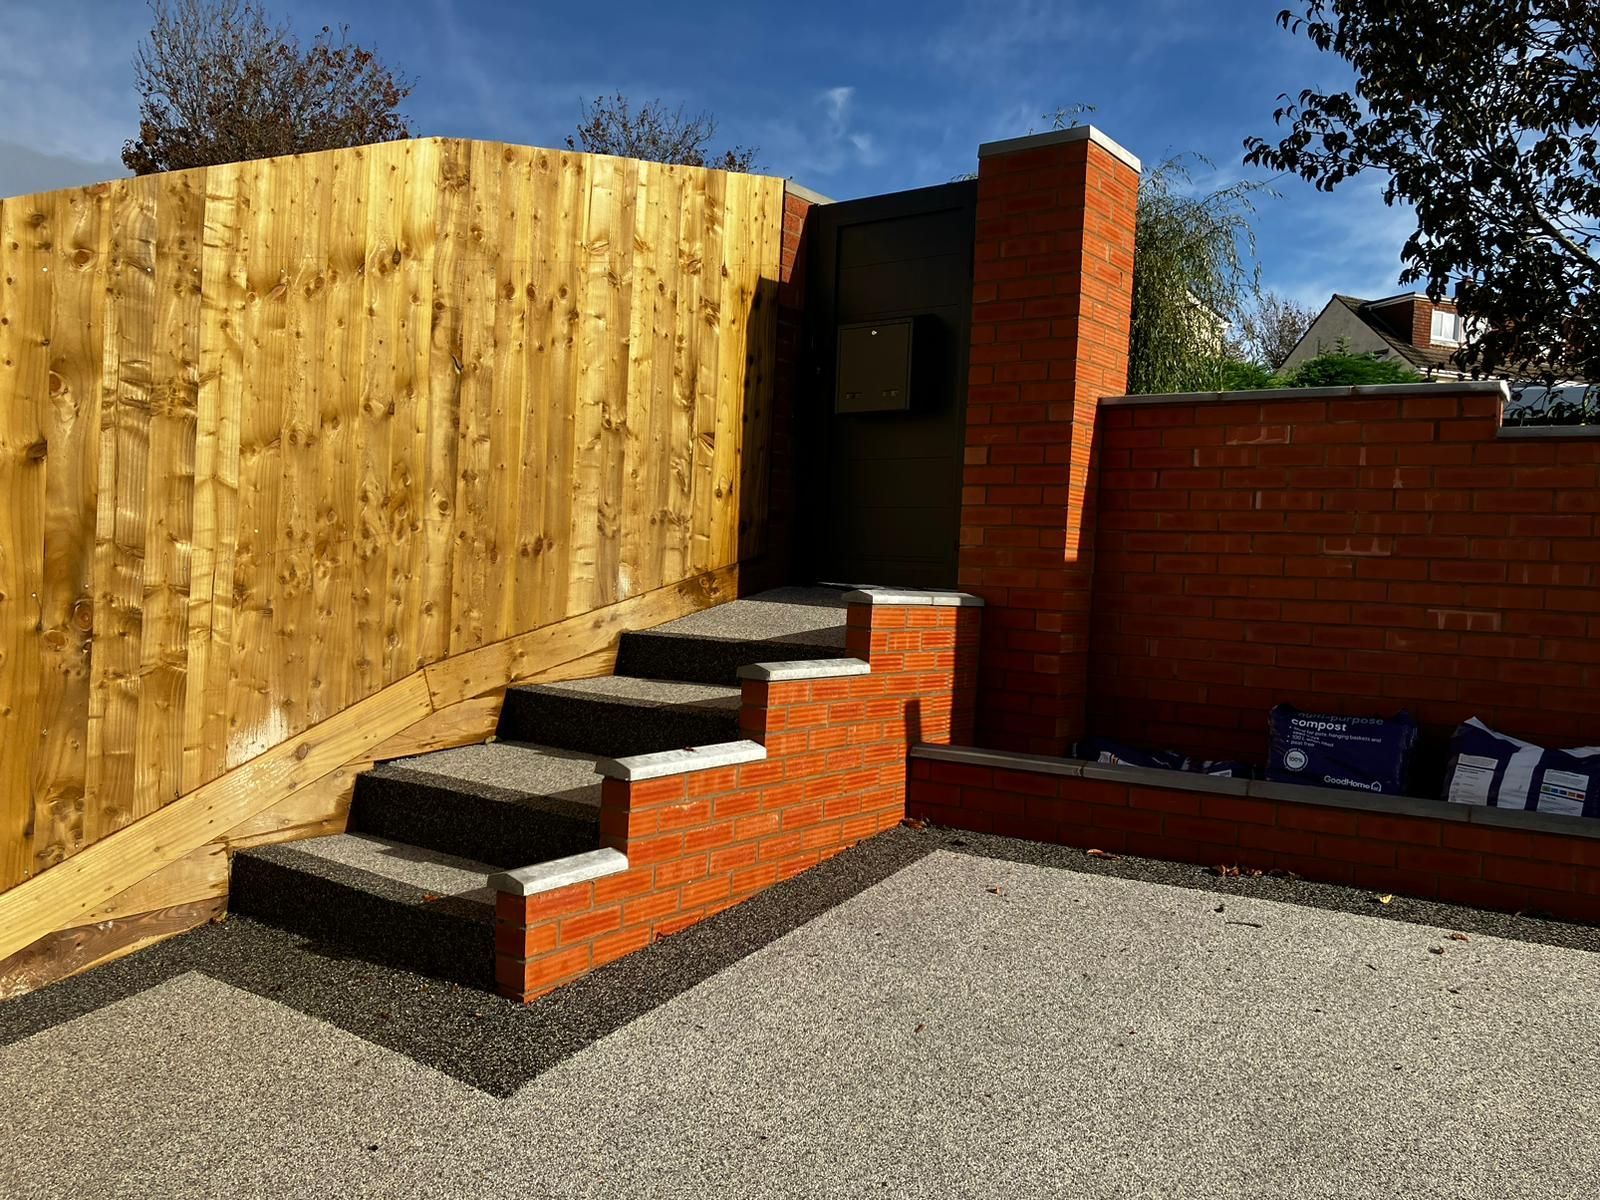
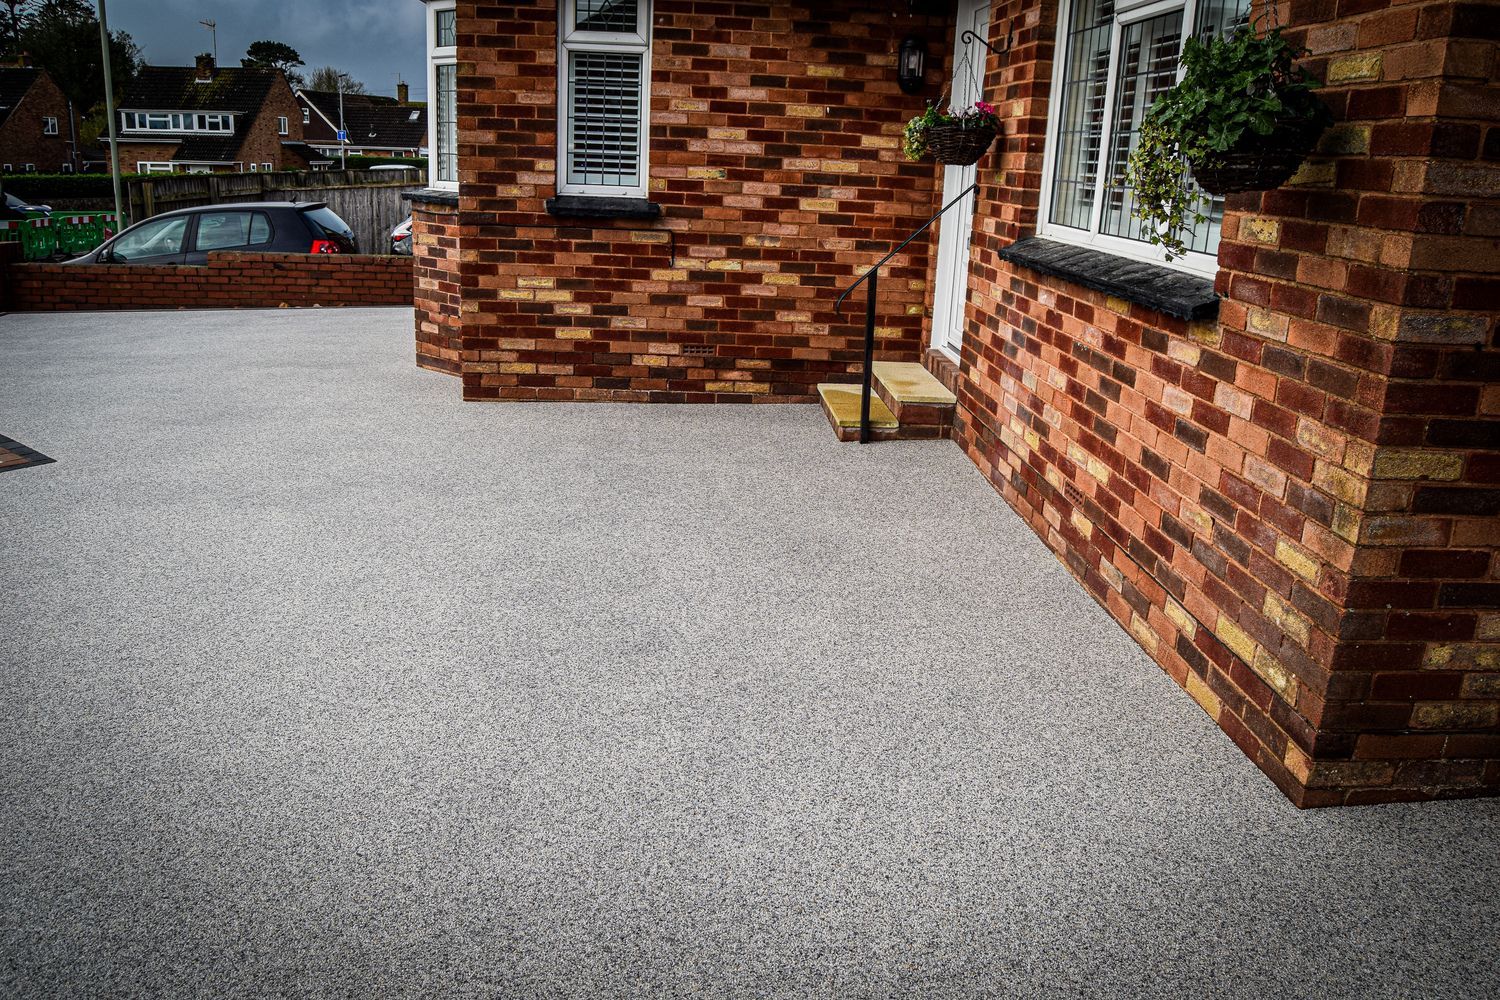
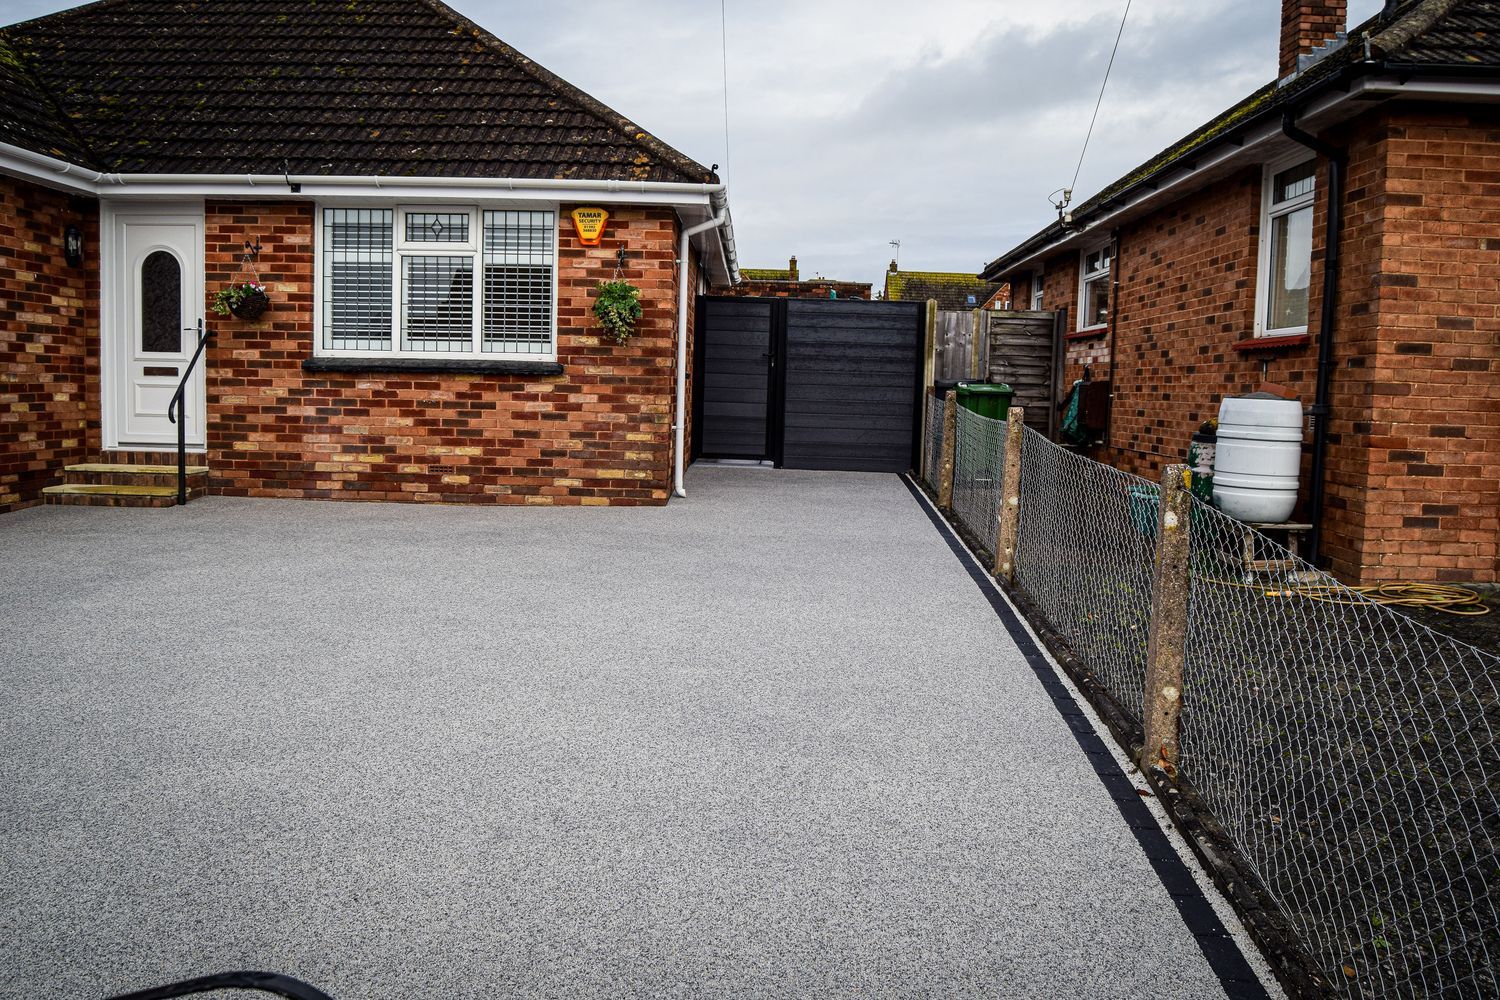
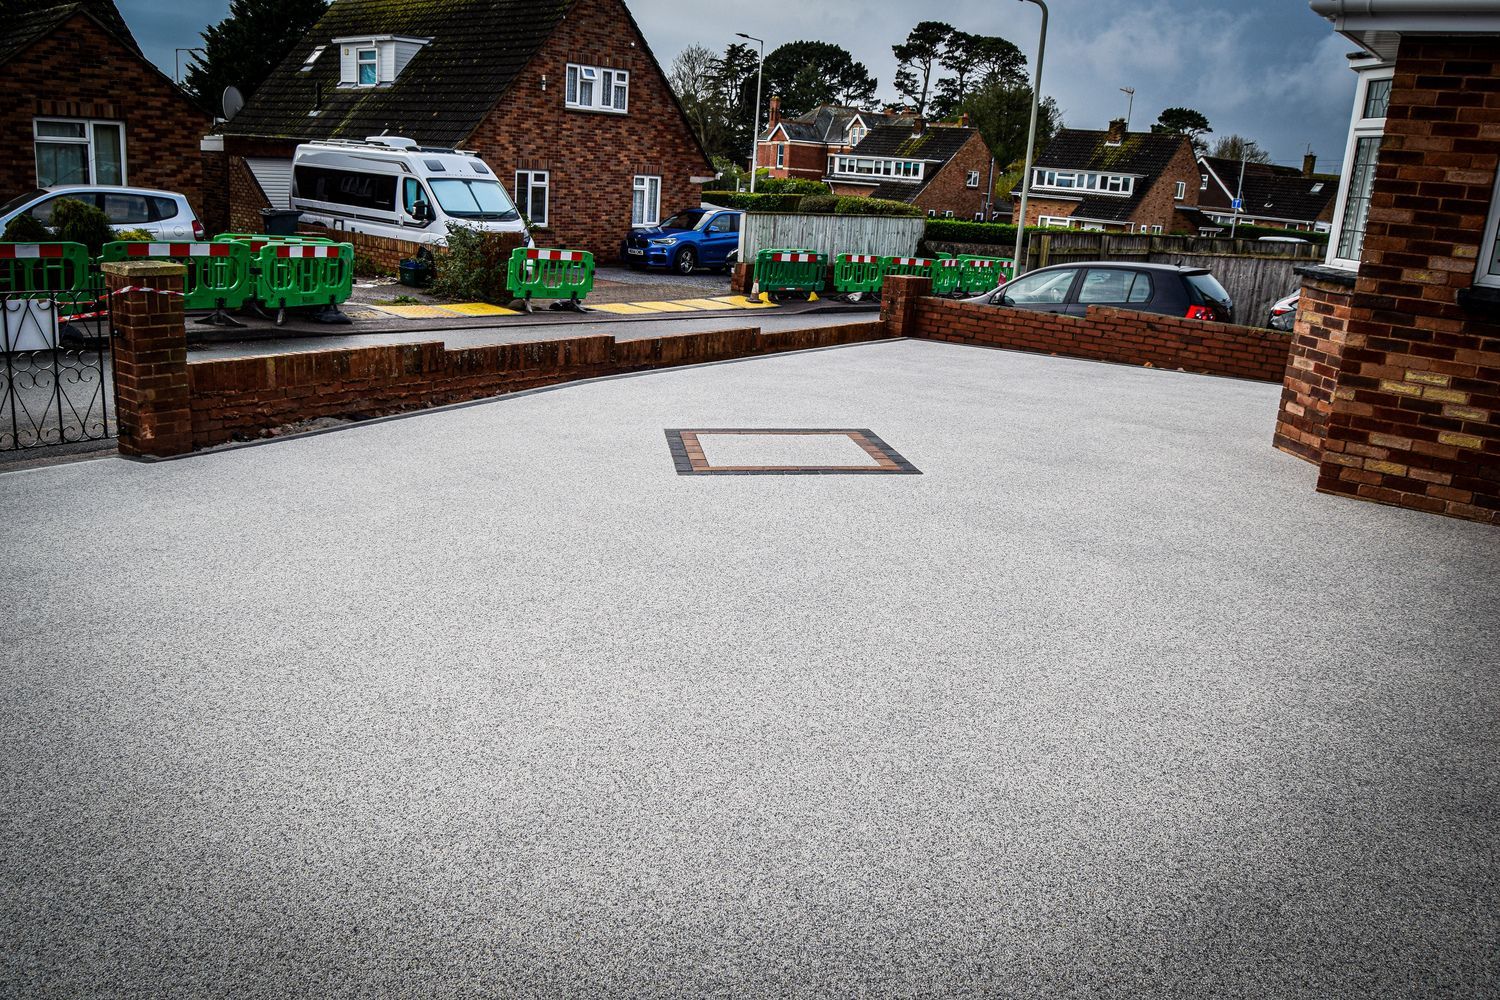
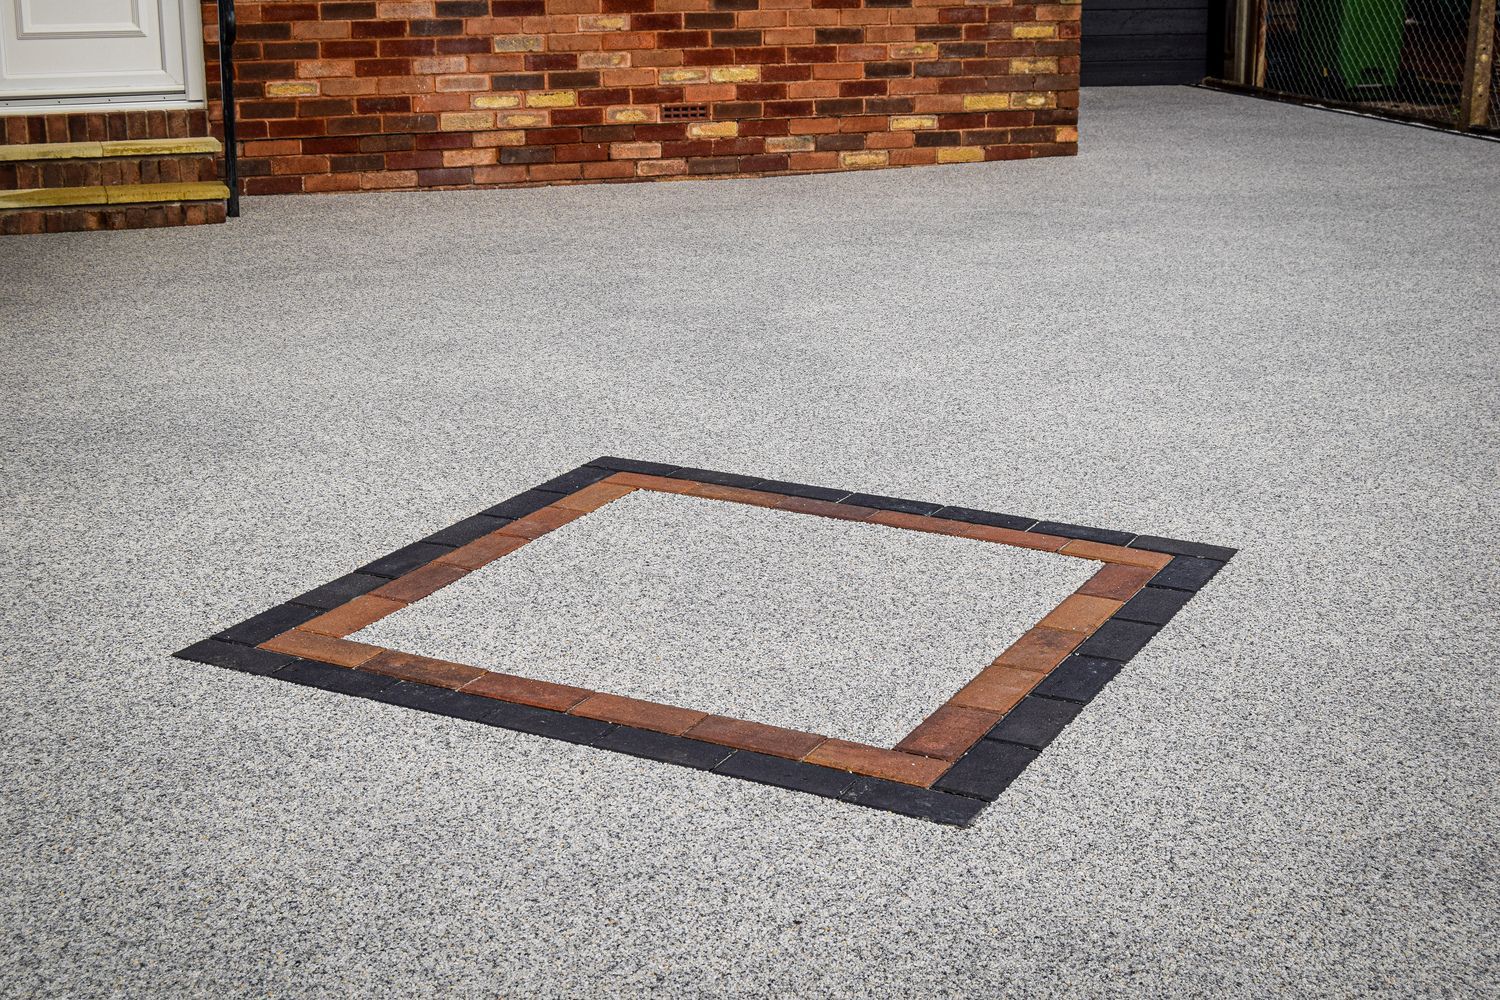
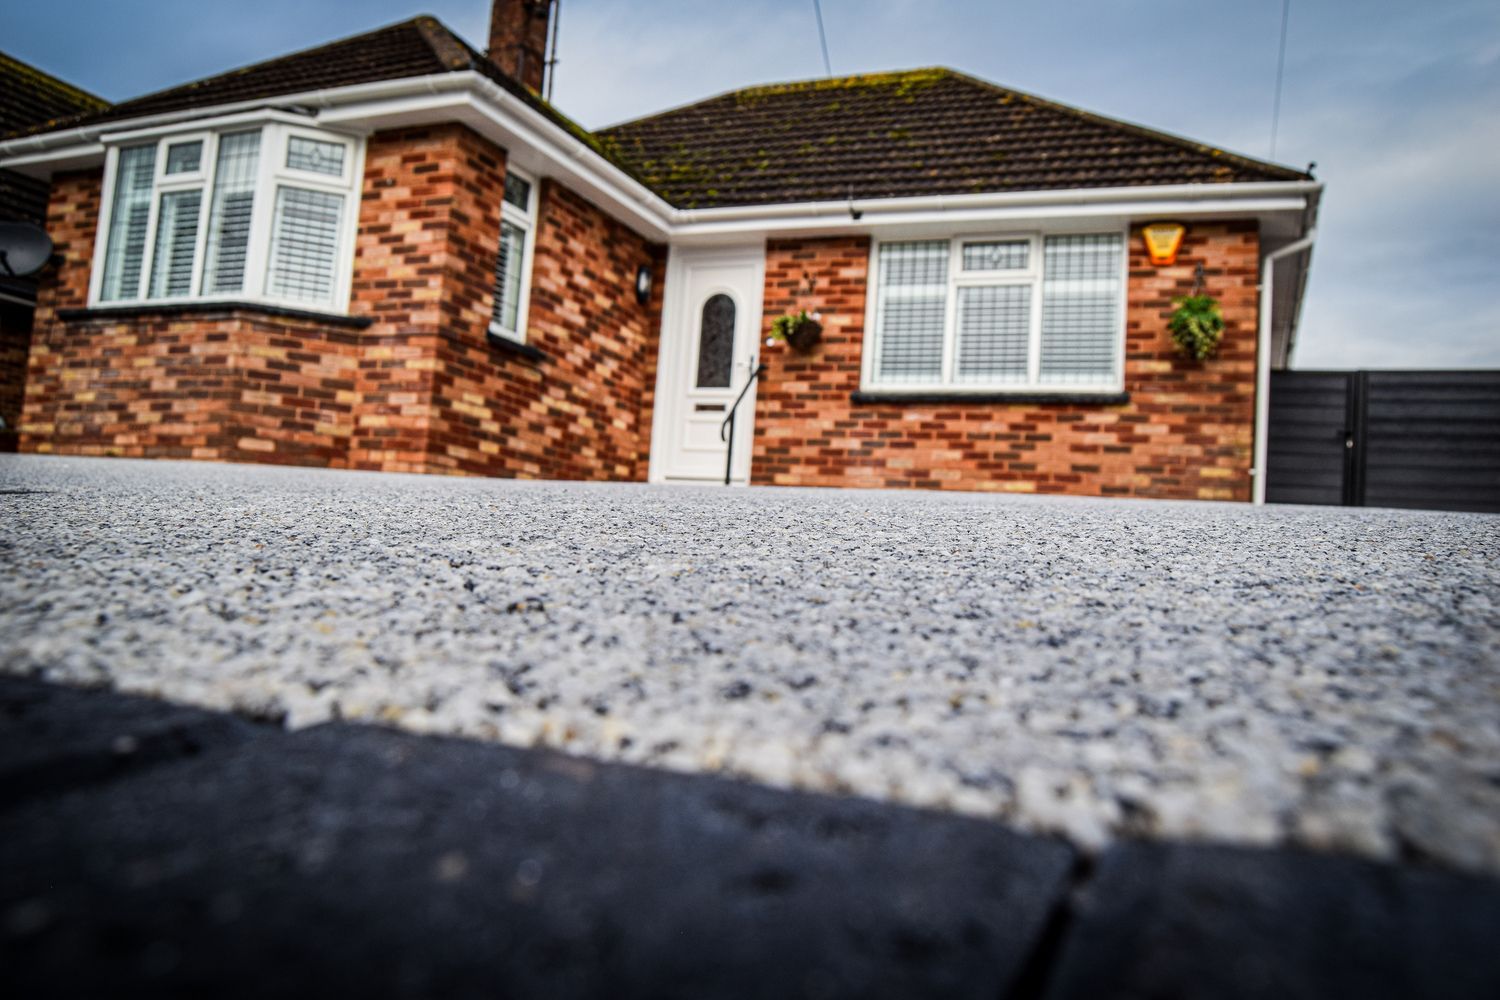
To illustrate the incredible makeover, here are a number of images taken from the beginning to the end of our transformation. The restoration of a drive is an art skill, and it's a skill that our team are extremely enthusiastic about!
Some additional pictures of our completed work may be found down below:
Check out our YouTube video here: